Makeup look for “Hooded Eyes”.

Hooded eyes, as well as mono-lids, and


eyes with “abundant” skin, or
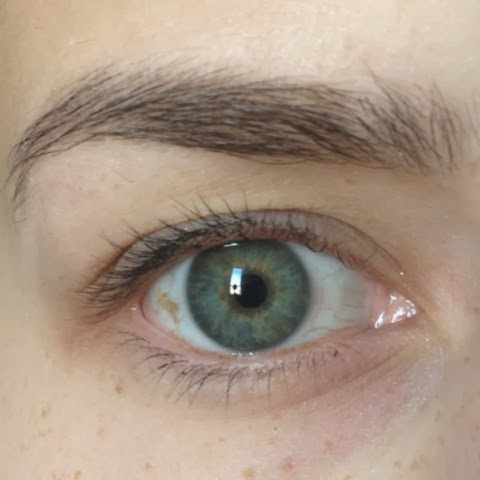
Even aging eyes,

Please Click “Next”or “Open”To Read More
can be difficult to apply eyeshadow onto.
Either because it doesn’t show up where you’d like it to, or it disappears when you relax your eyes. It can be tricky to get the awake look, most of us like.
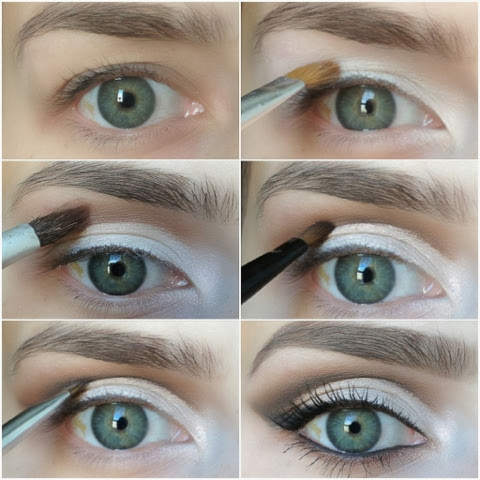
Here’s a quick breakdown:
And here is a before and after of what the right technique and coloring, can do.
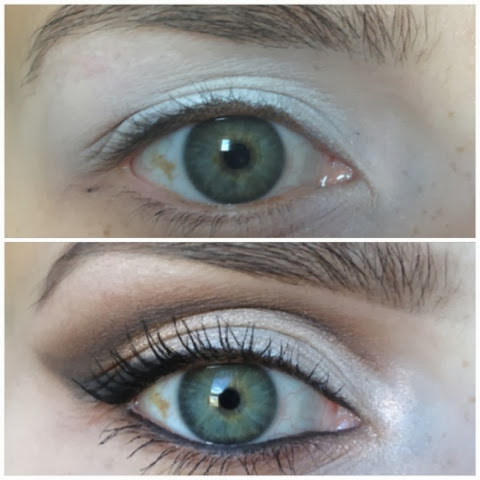
The top eye looks tired and one dimensional.
The bottom eye looks more open and lifted.
Please Click “Next”or “Open”To Read More
To begin, prime your eye with either a white eyeliner, or a cream white base. A regular primer will work fine, if you don’t have either white bases.
Make sure you prime from the inner lid, center lid, and on up to the brow bone.
From this step on: MAKE SURE you are looking into a mirror that is level to your eye, in a relaxed position.
Throughout the look, you need to keep your eyes relaxed.
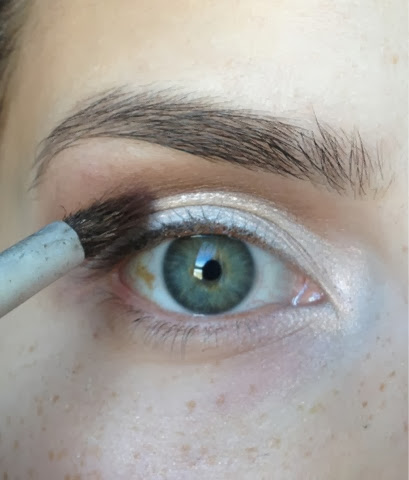
Step 2: Apply a shimmer/metallic shadow (the lighter the better)
With a wet brush.
I used “vanilla pigment” from MAC (I’ve had this for 5 years and going strong, pigments are so awesome!)
Place light color on eyelid and above your natural crease line, if you have one.
If you don’t, go up to however high, you want your eye lid to appear.

I went slightly above my natural crease, because I don’t have much room.
It’s key to wet the brush, so the metallic or shimmer element of the shadow, will create a better illusion of a bigger eyelid, by deflecting light.
Please Click “Next”or “Open”To Read More
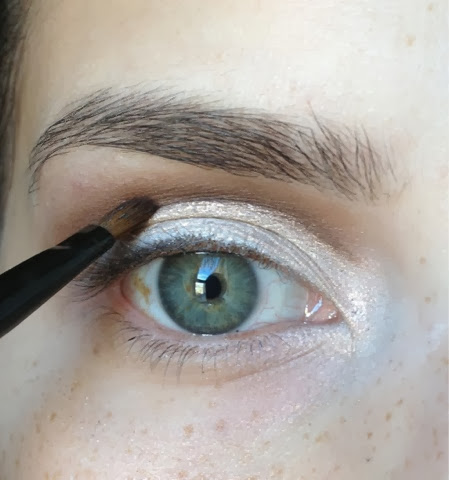
Step 3: Using a small brush and a matte medium brown, apply shadow in a rainbow motion, ABOVE previous color.

MAKE SURE you don’t ever go over first shade. There should be a distinct line of division.
If you do get a little on the lid color, you can go back at the end, and re apply first color.
Also, blending the top part of the medium brown shade is very important.
You are creating a new and deepersocket of your eye.
Please Click “Next”or “Open”To Read More
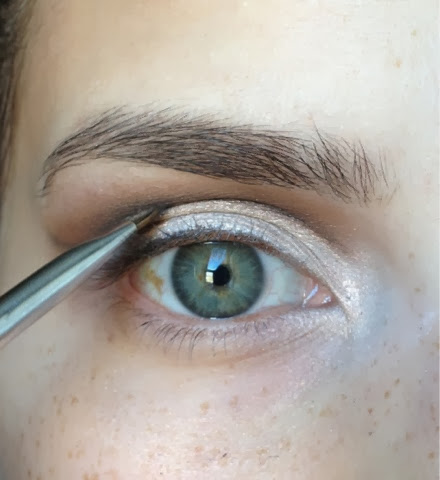
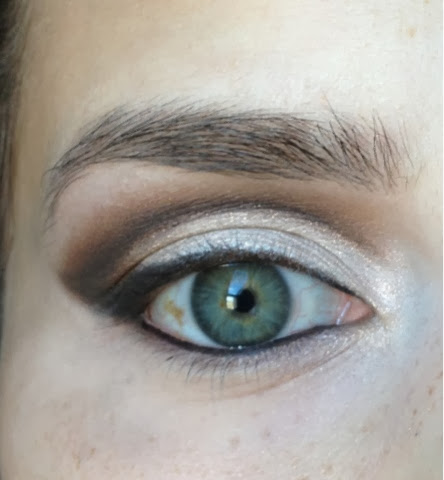
Step 4: Whith a smaller brush (I used an angled liner brush) and a darker brown, draw a line, where the light shadow ends, and dark shadow starts.
Bring the line, to the inner part of the eye, as well.

Please Click “Next”or “Open”To Read More
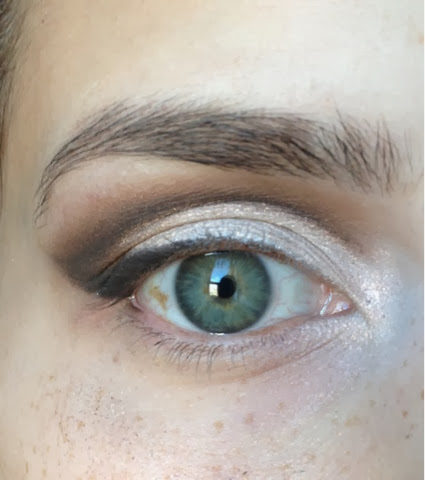
Step 5: With a tiny brush and a matte black shadow, draw in the “new crease” one final time.

Extension the line outward, to create a lifting effect.
Please Click “Next”or “Open”To Read More
Step 6: this could be done along with step 3. Apply medium brown, to outer corner.
Apply liner to the outer corner and connect to the black line you created in step 5.
Please Click “Next”or “Open”To Read More
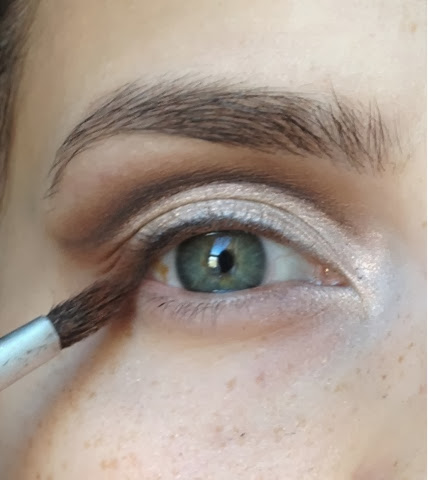
Then take the liner into the inner corner, avoiding any liner on the lid.
This should be on the WATER LINE (pink skin between eyeball and lashes).
Also line the bottom waterline.
Add medium brown lashline and. A little below to tie it all in. (This could also be done in step 3)

Please Click “Next”or “Open”To Read More
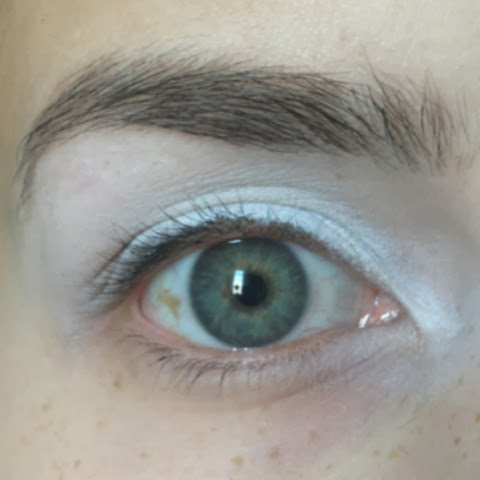
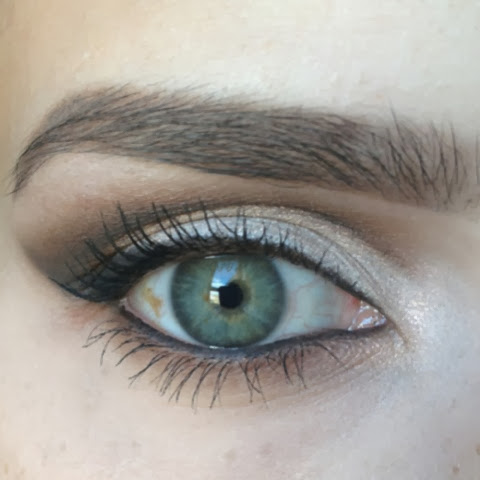
Add mascara and FILL IN BROWS 😉
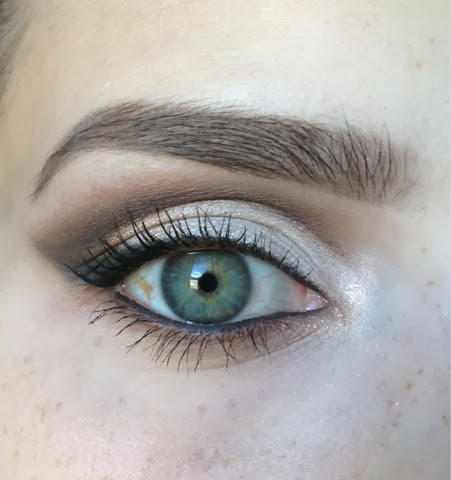
I also added a highlighting shade along the bottom of the brow, to sharpen up the line, and create a more dimensional effect.
And voila! There it is!

Please Click “Next”or “Open”To Read More
Before….

And after….
This look takes some practice, but it’s well worth it because of the dramatic change it gives.